Delay Node
A delay node is a type of resource with can simulate a data transfer bottleneck. This can be handy for running experiments that would ideally have some set speed of data transfer as opposed to whatever the network is capable of.
For instance, let’s say you are running a GENI experiment on a single site, where the inter-node data transfer speeds are 1000 Mbps. If you’re running an experiment that tests new protocols, it might make sense to run the experiment with different qualities of service and/or network characteristics.
Changing Network Characteristics
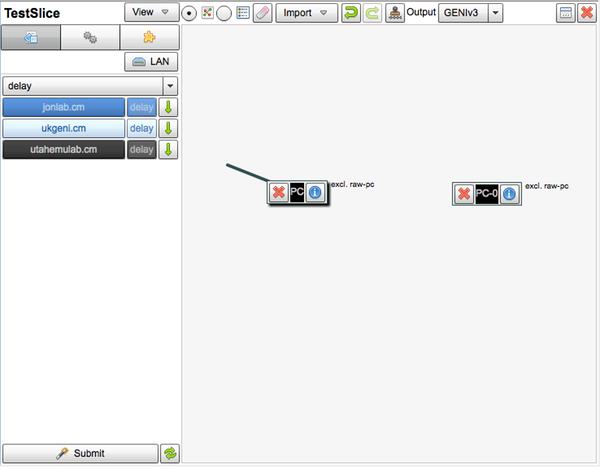
In the image below, we have two nodes that have yet to be networked together:
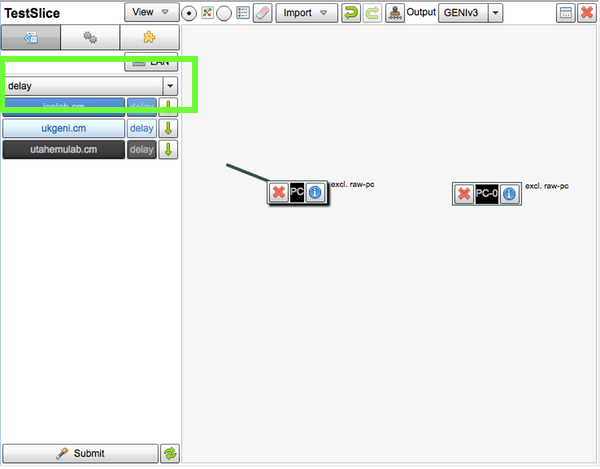
In the resource list drop down, we’re going to select the ‘delay’ option:
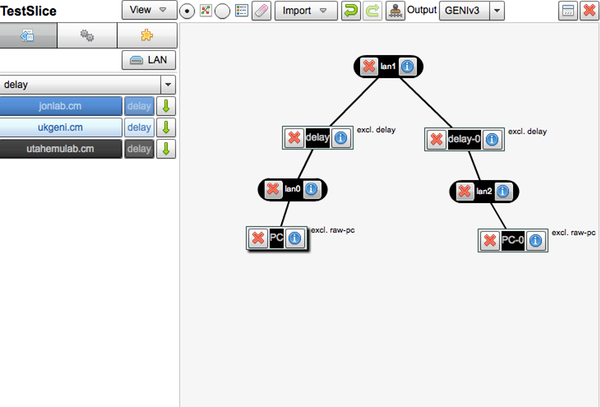
From there, we’ll want to drag a delay node (or two) onto the pane

Finally, let’s drag links between the nodes so the LANs are set up automatically:
At this point, let’s click the i icon on the delay node. We’ll see a properties pane appear with areas to set capacity, latency, and packet loss on either incoming or outgoing traffic. At this time, capacity is in kb/s, latency in milliseconds, and packet loss as a number between 0 and 1.
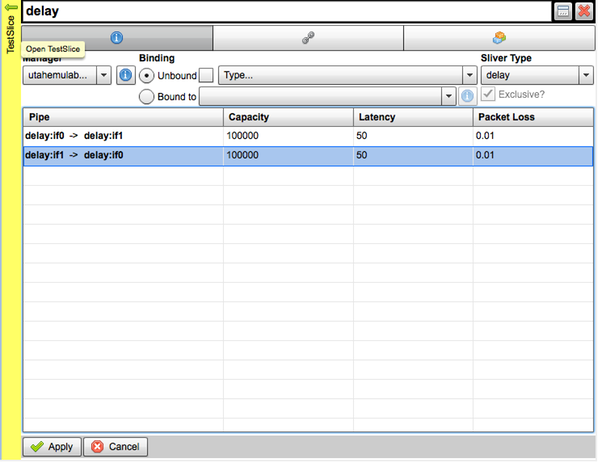
Apply your settings to finish it off.